What Is Photography? A Beginner’s Guide to Capturing Light

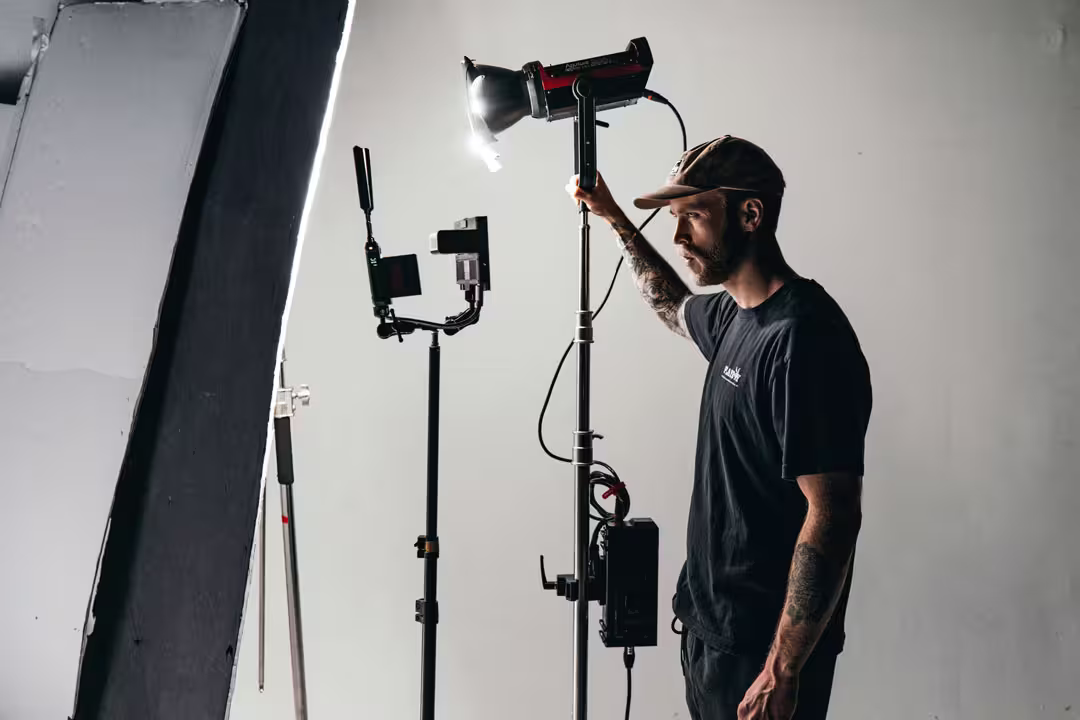


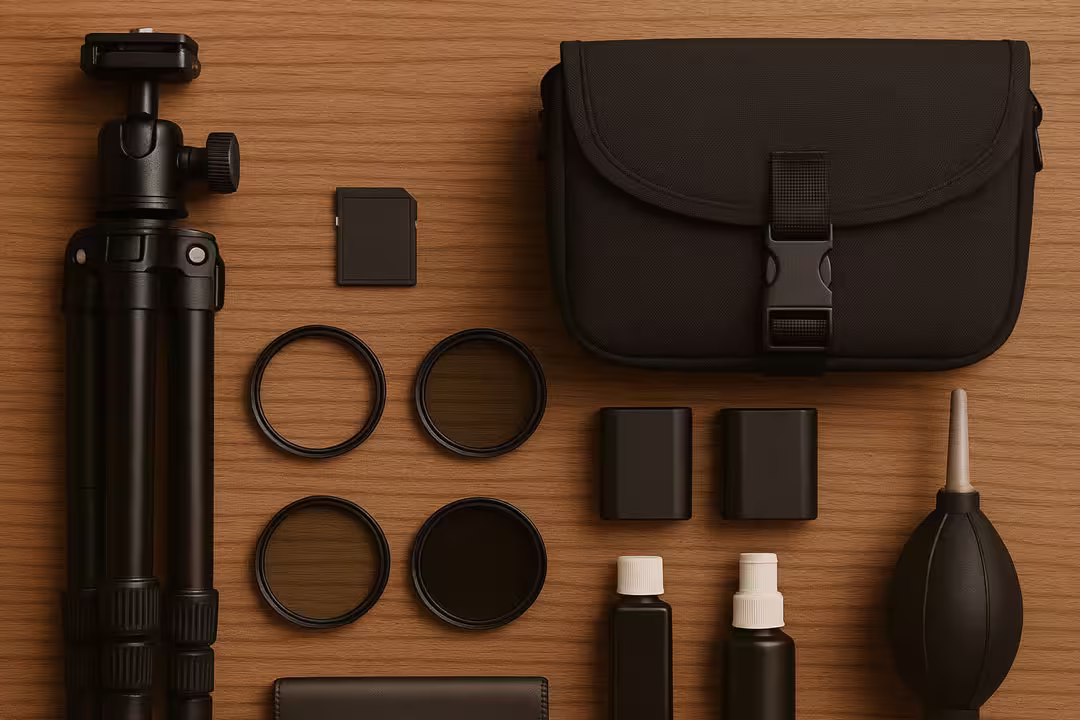
Welcome to the beginning of your photography journey. Whether you’re using a DSLR, a mirrorless camera, or just your smartphone, understanding the foundations of photography will transform the way you see the world.
Photography is, at its essence, the art and science of capturing light. Every image is created by light entering a camera and being recorded on a sensor. The more you understand how to control that light, the more creative power you have behind the lens.
Understanding the Basics
To begin with, there are three core concepts every photographer must learn: exposure, composition, and perspective. These principles are the backbone of every great photograph.
1. Exposure
Exposure determines how light or dark your image appears. It is controlled by three main settings:
- Aperture (measured in f-stops): Controls how wide the lens opens. A wider aperture (like f/2.8) lets in more light and creates a shallow depth of field, which is useful for portraits.
- Shutter Speed (measured in seconds or fractions of a second): Controls how long the shutter stays open. Faster speeds freeze motion, while slower speeds can capture motion blur.
- ISO (sensitivity to light): A lower ISO gives cleaner images with less noise, while a higher ISO can brighten a photo in low light but may add grain.
Together, these three elements form the Exposure Triangle. Learning to balance them is essential for shooting in manual mode and achieving consistent results.
2. Composition
Even with perfect exposure, a poorly composed photo can fall flat. Composition is about how you arrange elements within the frame to guide the viewer’s eye and create visual interest.
Key composition techniques include:
- Rule of Thirds: Divide your frame into a 3×3 grid and place your subject along these lines or intersections.
- Leading Lines: Use natural lines (roads, fences, shadows) to draw attention to your subject.
- Framing: Use objects (like windows or branches) to create a natural frame around your subject.
- Negative Space: Allow space around your subject to create balance and simplicity.
3. Perspective
Most beginners shoot everything from eye level. Changing your perspective can instantly elevate your images.
- Get low to the ground to exaggerate scale or drama.
- Shoot from above to simplify backgrounds and emphasize patterns.
- Try different angles to find the most interesting view of your subject.
Experimentation with perspective often leads to the most creative results.
Practical Assignment
To reinforce what you’ve learned today, try this simple exercise:
- Choose a single object around you — a cup, a plant, a pair of shoes.
- Take five different photos of it using:
- Different angles (high, low, side)
- Only natural light (no flash or artificial lights)
- A mix of wide shots and close-ups
Review the photos and notice how the changes in angle, lighting, and distance affect the final image. Consider which one tells the best story or draws your attention the most.
Conclusion
This is your first step into the world of photography. Today you’ve learned that great photos don’t depend on expensive equipment, but rather on understanding light, composition, and perspective.
In the next article, we’ll explore how to dramatically improve your photography using nothing more than a smartphone and a few practical techniques.
What Is Photography? A Beginner’s Guide to Capturing Light
Welcome to the beginning of your photography journey. Whether you’re using a DSLR, a mirrorless camera, or just your smartphone, understanding the foundations of photography will transform the way you see the world.
Photography is, at its essence, the art and science of capturing light. Every image is created by light entering a camera and being recorded on a sensor. The more you understand how to control that light, the more creative power you have behind the lens.
Understanding the Basics
To begin with, there are three core concepts every photographer must learn: exposure, composition, and perspective. These principles are the backbone of every great photograph.
1. Exposure
Exposure determines how light or dark your image appears. It is controlled by three main settings:
- Aperture (measured in f-stops): Controls how wide the lens opens. A wider aperture (like f/2.8) lets in more light and creates a shallow depth of field, which is useful for portraits.
- Shutter Speed (measured in seconds or fractions of a second): Controls how long the shutter stays open. Faster speeds freeze motion, while slower speeds can capture motion blur.
- ISO (sensitivity to light): A lower ISO gives cleaner images with less noise, while a higher ISO can brighten a photo in low light but may add grain.
Together, these three elements form the Exposure Triangle. Learning to balance them is essential for shooting in manual mode and achieving consistent results.
2. Composition
Even with perfect exposure, a poorly composed photo can fall flat. Composition is about how you arrange elements within the frame to guide the viewer’s eye and create visual interest.
Key composition techniques include:
- Rule of Thirds: Divide your frame into a 3×3 grid and place your subject along these lines or intersections.
- Leading Lines: Use natural lines (roads, fences, shadows) to draw attention to your subject.
- Framing: Use objects (like windows or branches) to create a natural frame around your subject.
- Negative Space: Allow space around your subject to create balance and simplicity.
3. Perspective
Most beginners shoot everything from eye level. Changing your perspective can instantly elevate your images.
- Get low to the ground to exaggerate scale or drama.
- Shoot from above to simplify backgrounds and emphasize patterns.
- Try different angles to find the most interesting view of your subject.
Experimentation with perspective often leads to the most creative results.
Practical Assignment
To reinforce what you’ve learned today, try this simple exercise:
- Choose a single object around you — a cup, a plant, a pair of shoes.
- Take five different photos of it using:
- Different angles (high, low, side)
- Only natural light (no flash or artificial lights)
- A mix of wide shots and close-ups
Review the photos and notice how the changes in angle, lighting, and distance affect the final image. Consider which one tells the best story or draws your attention the most.
Conclusion
This is your first step into the world of photography. Today you’ve learned that great photos don’t depend on expensive equipment, but rather on understanding light, composition, and perspective.
In the next article, we’ll explore how to dramatically improve your photography using nothing more than a smartphone and a few practical techniques.