Mastering Lighting Basics in Photography

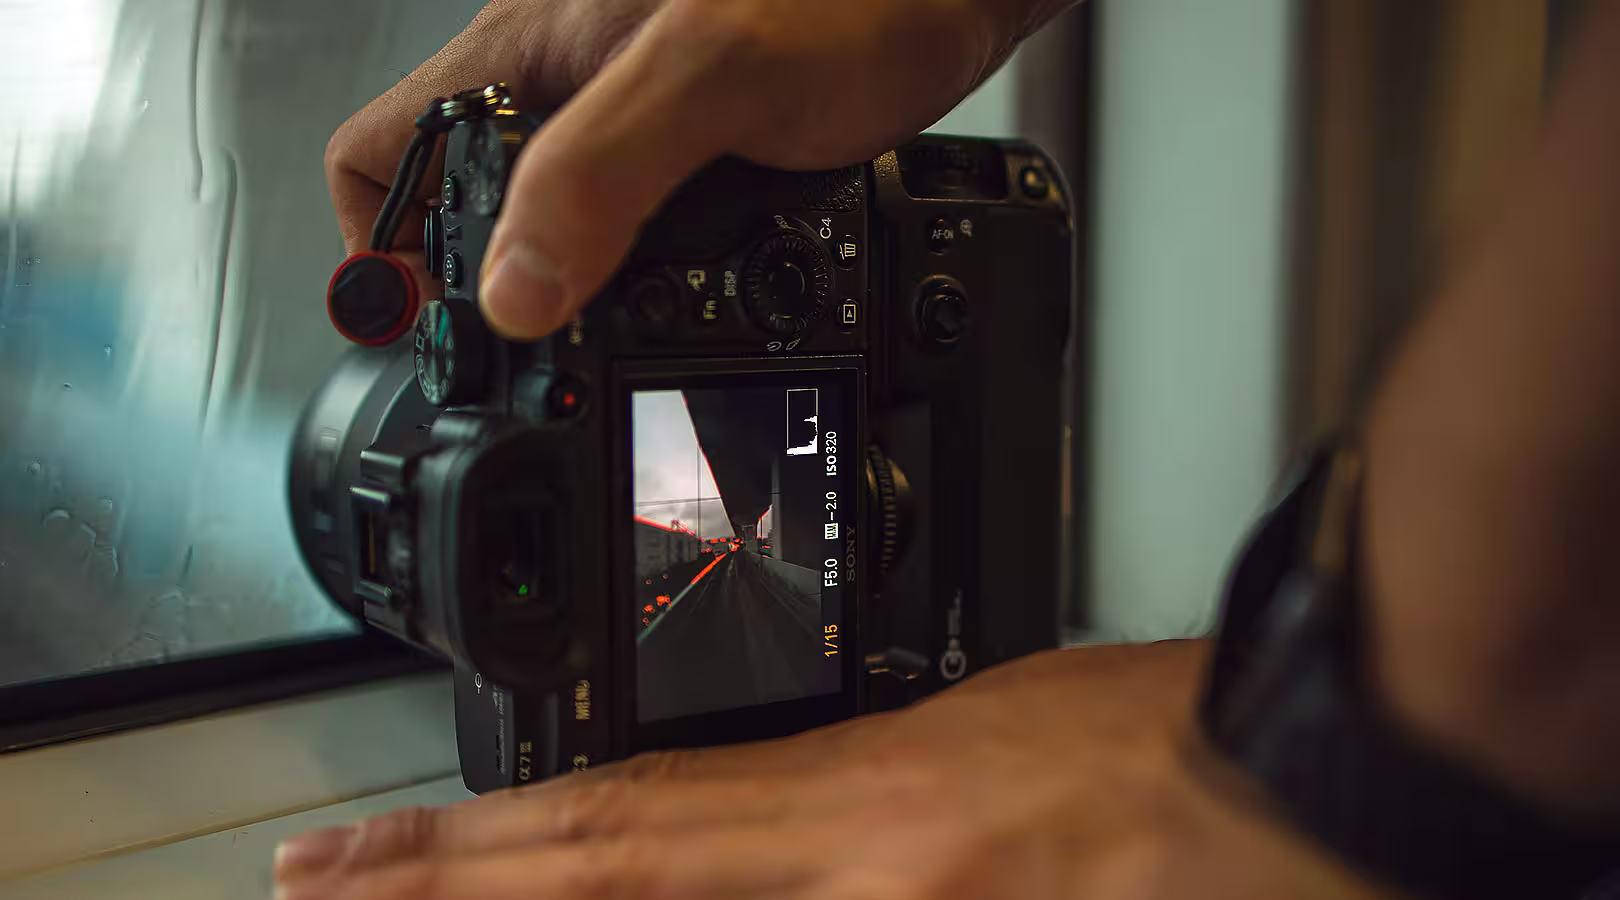
Light is the foundation of every photograph. It shapes mood, reveals detail, and gives dimension to your subject. Understanding how to see and work with light — both natural and artificial — is a skill that will elevate your photography instantly.
Natural Light
Natural light is free, abundant, and versatile. However, it changes throughout the day and can dramatically alter the look of your photos.
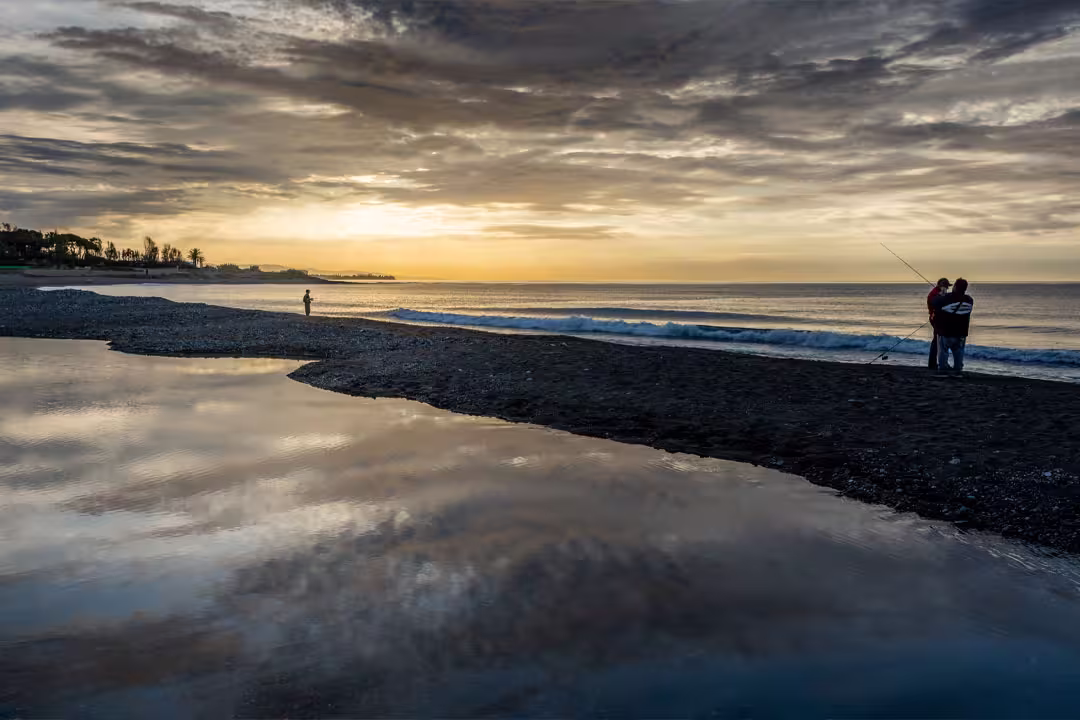
Golden Hour
- Occurs just after sunrise and before sunset.
- Produces soft, warm tones and long, flattering shadows.
- Ideal for portraits, landscapes, and outdoor scenes.
Midday Light
- Harsh and direct.
- Can create strong contrasts and unflattering shadows.
- Best used with diffusers, shade, or when shooting subjects where contrast adds drama.
Overcast Light
- Soft and even, reducing harsh shadows.
- Perfect for portraits, product photography, and macro work.
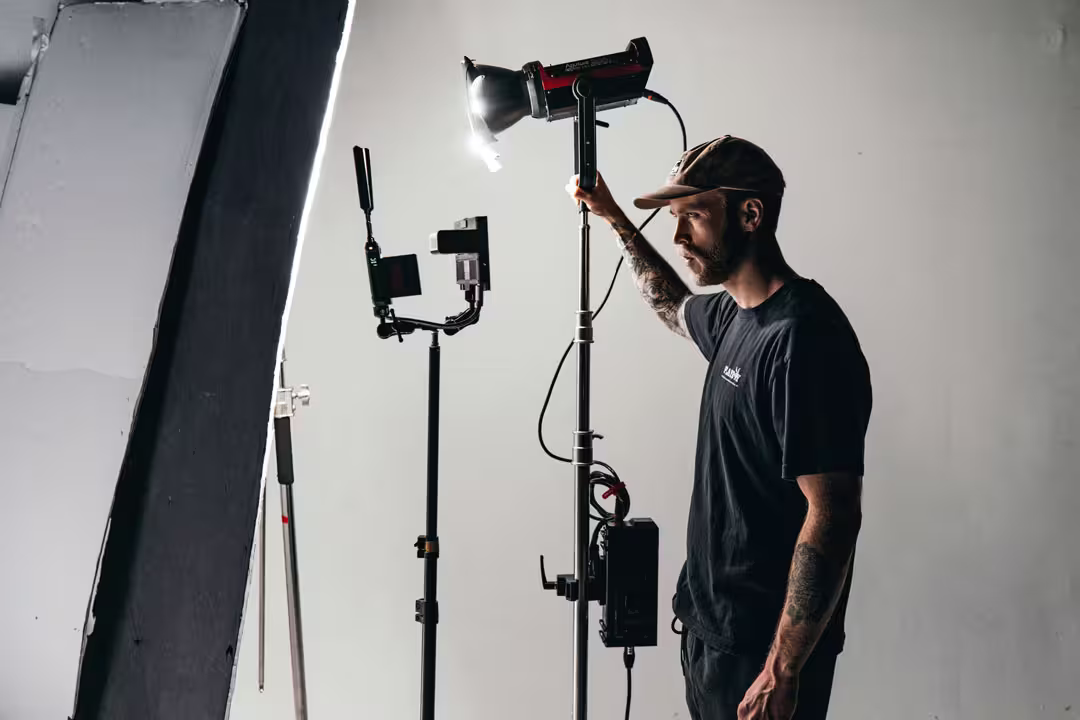
Artificial Light
Artificial light sources give you more control over how your subject appears.
Continuous Lights
- Lamps, LED panels, or studio lights stay on while you shoot.
- Useful for video and beginners learning light placement.
Flash/Speedlights
- Provide short bursts of light.
- Can freeze motion and illuminate subjects in low-light conditions.
- Often paired with diffusers or modifiers to soften the effect.
Studio Strobes
- More powerful than speedlights.
- Used for professional portraits, fashion, and product photography.
- Require modifiers (softboxes, umbrellas) for best results.
Light Direction and Quality
The direction and quality of light matter as much as the source.
- Front Lighting: Illuminates evenly, but can look flat.
- Side Lighting: Adds depth, contrast, and drama.
- Backlighting: Creates silhouettes or a glow around the subject.
- Diffused Light: Softens shadows, often achieved with clouds, softboxes, or sheer curtains.
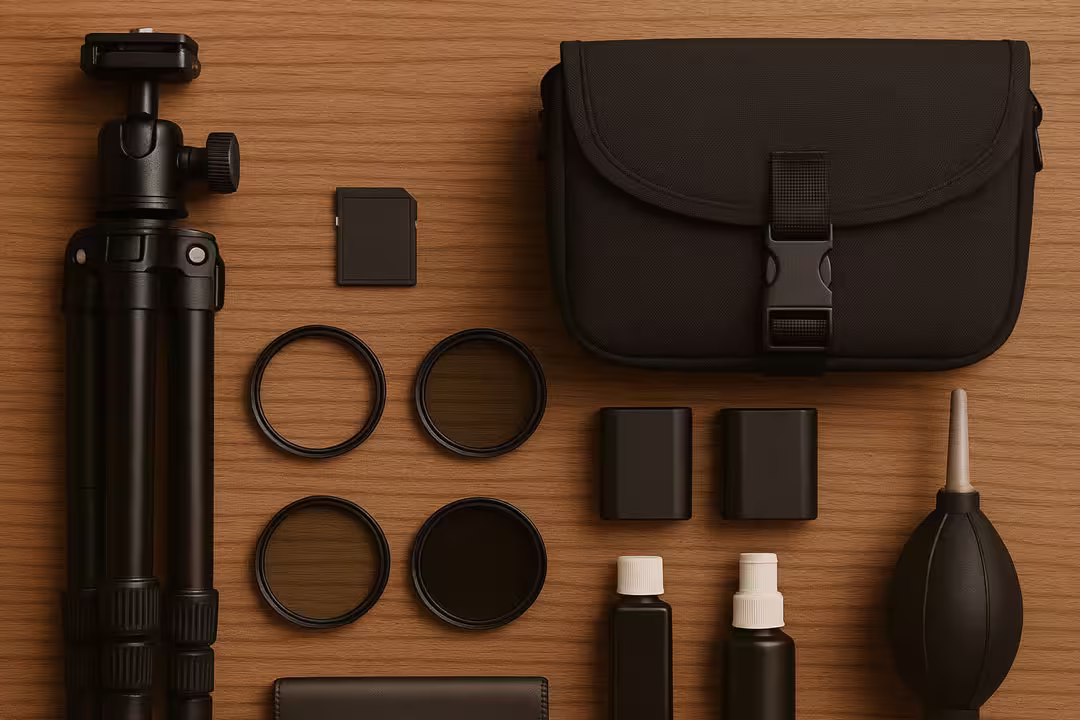
Practical Assignment
Choose one subject (a portrait, an object, or a small scene). Photograph it using three different types of light:
- Natural light through a window.
- Artificial continuous light (a desk lamp with a diffuser works).
- Flash with or without modification.
Compare how the mood and details of the image change with each lighting setup.
Conclusion
Lighting is both a technical and creative tool. By learning to observe and shape light, you’ll gain more control over the mood and storytelling of your photos. Whether working with the sun or a simple lamp, understanding the basics of lighting will transform your photography.
In the next article, we’ll explore the basics of portrait photography — from posing to lighting setups that flatter your subject.
Mastering Lighting Basics in Photography
Light is the foundation of every photograph. It shapes mood, reveals detail, and gives dimension to your subject. Understanding how to see and work with light — both natural and artificial — is a skill that will elevate your photography instantly.
Natural Light
Natural light is free, abundant, and versatile. However, it changes throughout the day and can dramatically alter the look of your photos.
Golden Hour
- Occurs just after sunrise and before sunset.
- Produces soft, warm tones and long, flattering shadows.
- Ideal for portraits, landscapes, and outdoor scenes.
Midday Light
- Harsh and direct.
- Can create strong contrasts and unflattering shadows.
- Best used with diffusers, shade, or when shooting subjects where contrast adds drama.
Overcast Light
- Soft and even, reducing harsh shadows.
- Perfect for portraits, product photography, and macro work.
Artificial Light
Artificial light sources give you more control over how your subject appears.
Continuous Lights
- Lamps, LED panels, or studio lights stay on while you shoot.
- Useful for video and beginners learning light placement.
Flash/Speedlights
- Provide short bursts of light.
- Can freeze motion and illuminate subjects in low-light conditions.
- Often paired with diffusers or modifiers to soften the effect.
Studio Strobes
- More powerful than speedlights.
- Used for professional portraits, fashion, and product photography.
- Require modifiers (softboxes, umbrellas) for best results.
Light Direction and Quality
The direction and quality of light matter as much as the source.
- Front Lighting: Illuminates evenly, but can look flat.
- Side Lighting: Adds depth, contrast, and drama.
- Backlighting: Creates silhouettes or a glow around the subject.
- Diffused Light: Softens shadows, often achieved with clouds, softboxes, or sheer curtains.
Practical Assignment
Choose one subject (a portrait, an object, or a small scene). Photograph it using three different types of light:
- Natural light through a window.
- Artificial continuous light (a desk lamp with a diffuser works).
- Flash with or without modification.
Compare how the mood and details of the image change with each lighting setup.
Conclusion
Lighting is both a technical and creative tool. By learning to observe and shape light, you’ll gain more control over the mood and storytelling of your photos. Whether working with the sun or a simple lamp, understanding the basics of lighting will transform your photography.
In the next article, we’ll explore the basics of portrait photography — from posing to lighting setups that flatter your subject.