Five Essential Tips for Better Smartphone Photography
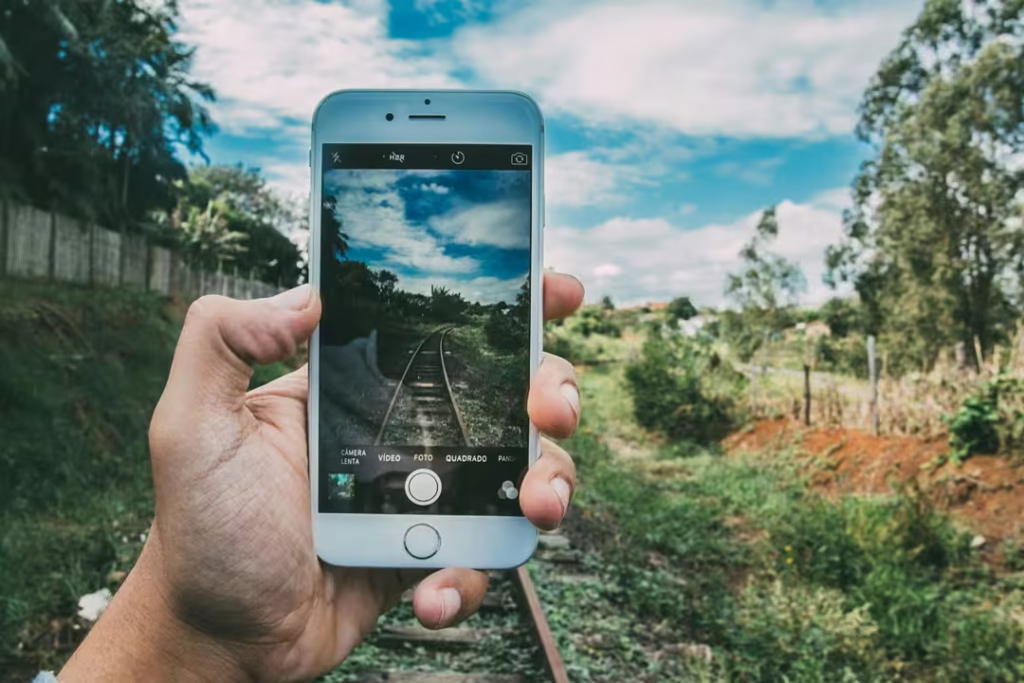
Not every great photo is taken with a professional camera. The device in your pocket is capable of producing high-quality, visually striking images — if you know how to use it well. Today’s article focuses on practical steps you can take to improve your smartphone photography immediately.
Why Smartphone Photography Matters
Modern smartphones are equipped with powerful sensors, advanced image processing, and computational photography features. However, relying on automatic settings alone often limits your creative control. With a few adjustments to your approach, you can transform everyday snapshots into compelling images.
Tip 1: Keep Your Lens Clean
A smartphone lens is small and often exposed to fingerprints, dust, and smudges. These imperfections can significantly reduce clarity and contrast.
Action: Wipe your lens gently with a clean, soft cloth before shooting. Avoid using clothing, as fabric fibers can leave scratches over time.
Tip 2: Understand and Use Focus
Tapping on the subject in your camera app forces the phone to adjust focus and exposure for that specific area. This ensures your subject is sharp and well-lit.
Action: Before pressing the shutter, tap on your main subject in the frame to set focus. On many devices, you can also lock focus and exposure by holding your finger on the screen.
Tip 3: Work With Natural Light
Lighting is the foundation of photography, and smartphones perform best in well-lit conditions. Harsh artificial light can create unnatural colour casts and unflattering shadows.
Action: Shoot near windows indoors or during the “golden hour” (the hour after sunrise and before sunset) for softer, more flattering light.
Tip 4: Avoid Digital Zoom
Digital zoom crops into your image, reducing quality and sharpness. It’s better to physically move closer to your subject whenever possible.
Action: If you can’t move closer, take the photo at the phone’s native lens setting and crop later in editing. This preserves more detail.
Tip 5: Edit Thoughtfully
Editing should enhance an image, not overpower it. Smartphone editing apps like Snapseed or Lightroom Mobile allow you to adjust exposure, contrast, sharpness, and colour with precision.
Action: Aim for subtle edits that enhance the photo’s natural qualities. Over-editing can make an image look artificial and lose its appeal.
Practical Assignment
Choose a subject today — a friend, a pet, a meal, or a street scene. Apply all five tips:
- Clean your lens.
- Tap to focus.
- Use natural light.
- Avoid digital zoom.
- Edit subtly.
Compare your results with your usual shots and note the difference.
Conclusion
Smartphone photography is not about limitations — it’s about possibilities. By mastering focus, light, and editing, you can achieve results that rival those taken with more advanced cameras.
In the next article, we’ll discuss how to choose between a DSLR and a mirrorless camera based on your needs, budget, and shooting style.
Five Essential Tips for Better Smartphone Photography

Not every great photo is taken with a professional camera. The device in your pocket is capable of producing high-quality, visually striking images — if you know how to use it well. Today’s article focuses on practical steps you can take to improve your smartphone photography immediately.
Why Smartphone Photography Matters
Modern smartphones are equipped with powerful sensors, advanced image processing, and computational photography features. However, relying on automatic settings alone often limits your creative control. With a few adjustments to your approach, you can transform everyday snapshots into compelling images.
Tip 1: Keep Your Lens Clean
A smartphone lens is small and often exposed to fingerprints, dust, and smudges. These imperfections can significantly reduce clarity and contrast.
Action: Wipe your lens gently with a clean, soft cloth before shooting. Avoid using clothing, as fabric fibers can leave scratches over time.
Tip 2: Understand and Use Focus
Tapping on the subject in your camera app forces the phone to adjust focus and exposure for that specific area. This ensures your subject is sharp and well-lit.
Action: Before pressing the shutter, tap on your main subject in the frame to set focus. On many devices, you can also lock focus and exposure by holding your finger on the screen.
Tip 3: Work With Natural Light
Lighting is the foundation of photography, and smartphones perform best in well-lit conditions. Harsh artificial light can create unnatural colour casts and unflattering shadows.
Action: Shoot near windows indoors or during the “golden hour” (the hour after sunrise and before sunset) for softer, more flattering light.
Tip 4: Avoid Digital Zoom
Digital zoom crops into your image, reducing quality and sharpness. It’s better to physically move closer to your subject whenever possible.
Action: If you can’t move closer, take the photo at the phone’s native lens setting and crop later in editing. This preserves more detail.
Tip 5: Edit Thoughtfully
Editing should enhance an image, not overpower it. Smartphone editing apps like Snapseed or Lightroom Mobile allow you to adjust exposure, contrast, sharpness, and colour with precision.
Action: Aim for subtle edits that enhance the photo’s natural qualities. Over-editing can make an image look artificial and lose its appeal.
Practical Assignment
Choose a subject today — a friend, a pet, a meal, or a street scene. Apply all five tips:
- Clean your lens.
- Tap to focus.
- Use natural light.
- Avoid digital zoom.
- Edit subtly.
Compare your results with your usual shots and note the difference.
Conclusion
Smartphone photography is not about limitations — it’s about possibilities. By mastering focus, light, and editing, you can achieve results that rival those taken with more advanced cameras.
In the next article, we’ll discuss how to choose between a DSLR and a mirrorless camera based on your needs, budget, and shooting style.


